How to connect to a SQL database server
There are two ways to connect to an SQL database server.
1 - using BDE Aliases and connecting using ODBC drivers (through an ODBC DSN)
2 - using ADO Aliases and connecting using ADO OLE DB or ODBC drivers (through an ODBC DSN)
1 - Using BDE ALIASES
If you are connecting your dBASE Plus application to an SQL database, you need to configure your SQL Links Driver and BDE to access your SQL database. In this procedure, you create an alias that BDE uses to locate the SQL database. You then add this alias to the Database object on your dBASE Plus form or report.
Install and configure the server software
Consult the documentation for your SQL database management system product for specific guidance on the initial steps of the following general procedure (specific product requirements may differ).
Make sure you have properly installed the client software for the database management system product to which you want to connect (Oracle, Sybase, InterBase, IBM DB2, MS SQL Server or Informix).
Define server names or other connection strings in the product’s required configuration files. For example, in Oracle, TNSNAMES.ORA, or in Sybase, SQL.INI, and so on.
Test the connection by using the database vendor’s connection utility (such as Sybase’s SYBPING.EXE). If you cannot "ping" the server with this utility, BDE and dBASE Plus will probably not be able to access it either.
Make sure that both BDE and the SQL Links drivers are properly installed. The SQL Links drivers are included with the dConnections connectivity component for dBASE Plus. If properly installed, the SQL Links drivers for Oracle, Sybase, InterBase, IBM DB2, Ms SQL Server and Informix appear on the Configuration page of the BDE Administrator, which is available from the dBASE Plus program group off the Start menu.
Configure the Borland Database Engine (BDE)
The Borland Database Engine (formerly called IDAPI) allows dBASE Plus to share data with supported SQL databases, Access 95/97, and FoxPro. If you’ll be connecting to any of these databases, you must assign aliases to them and otherwise configure BDE with the parameters of the database.
To create an alias and configure the BDE,
Open the BDE Administrator (BDEADMIN.EXE), available from your dBASE Plus program group.
Click the Databases tab.
Right-click and choose New to create a new alias.
Enter the full path to the database, including the file name when appropriate.
Click the Configuration tab and set the appropriate parameters in the Definition panel.
Parameters may vary according to vendor.
Parameters in bold cannot be changed.
To accommodate record locking in a Windows NT server environment, it is necessary to set the BDE's localShare parameter to "true".
Note
If you're creating a new ODBC alias, you must define its DSN before you can connect to that database.
You’ll find complete instructions in the BDE Administrator Help system. Press F1 with the cursor in any parameter for information on that parameter.
2 - Using ADO Connection Aliases
Setting up an ODBC / ADO Driver |
Steps needed to load an ODBC driver to use with ADO support in dBASE PLUS 9. This paper assumes the user will be using Windows 7 or 8 – 64 bit operating systems and is detailing how to set the environment with MySQL drivers. |
This subject is focused on setting up an ADO driver for connection to a MySQL database. If you are not familiar with ADO from Microsoft, the following is from Microsoft:
“Microsoft ActiveX Data Objects (ADO) enable your client applications to access and manipulate data from a variety of sources through an OLE DB provider. Its primary benefits are ease of use, high speed, low memory overhead, and a small disk footprint. ADO supports key features for building client/server and Web-based applications.” Microsoft – MSDN
ADO, much like the BDE, also supports the other database connectivity solution called ODBC (Open Database Connectivity) and it will allow connection to be passed from ODBC through ADO, again much like the BDE. This example will be using an ODBC driver to communicate through ADO, as MySQL does not support an OLE DB driver.
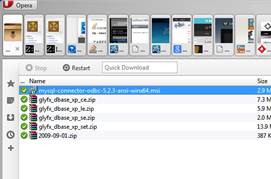
Download the driver from Oracle for the MySQL driver 64-bit. This can be easily found by typing in Google: ADO MYSQL Driver and it will take you to the driver locations for download.
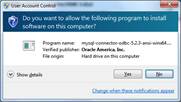
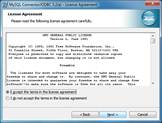
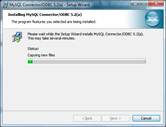
Once the driver has been downloaded (in this case an .MSI) run it and follow the installation steps next.
This is the normal install process that occurs in Windows software.
|
|
|
|
|
|
|
|
|
|
|
|
|
|
|
|
|
|
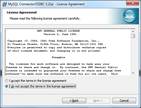
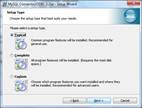
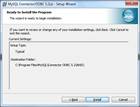
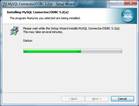
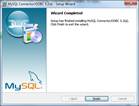
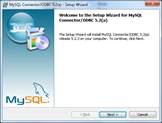
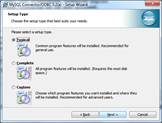
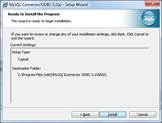
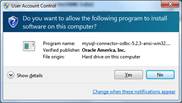
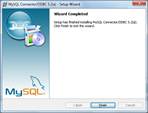
Install the software, again this installation is no different than any other Windows install.
|
|
|
|
|
|
|
|
|
|
|
|
|
|
|
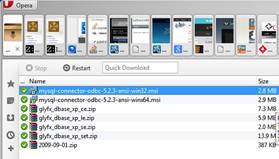
There are issues with the drivers, so having both 32-bit and 64-bit on the machine clears up the issues. This may be fixed in a future version of the drivers, but as of today, both drivers need to be loaded. Additional information can be found here: http://msdn.microsoft.com/en-us/library/ms712362(VS.85).aspx
Since MySQL only supports ODBC and not OLE DB, we have to configure an ODBC data source in the Windows OS for the connectivity.
|
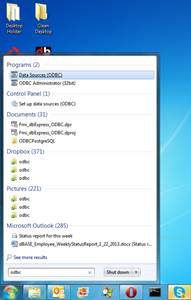
If you are in Windows XP, Vista, or Win 7, click the Start button and then Type in ODBC in the Search or Run edit boxes. This should lead to Data Sources (ODBC) being displayed in the search results, click on that item to continue.
If you are using Windows 8, hold down the Windows keyboard button and hit or press the letter E. This will bring you up to the same search box in Windows 8. Type in ODBC and the search should return Data Sources (ODBC) and click on that item to continue. |
|||
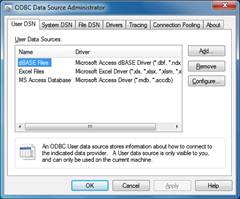
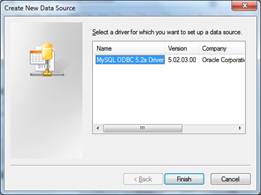
Click the ADD button to add a new ODBC data source |
Select the MySQL ODBC driver and click the Finish button |
|||
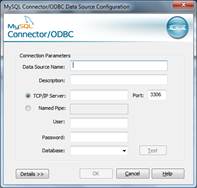
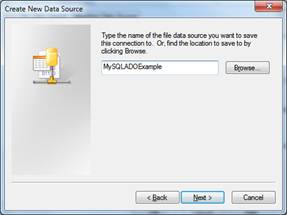
Put in the Data Source Name to be used for the connection |
Fill in the IP and Port address for the MySQL database. Then input the User name, Password, and Database to connect. |
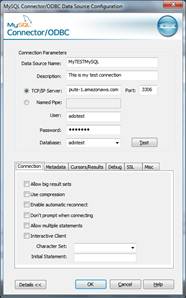
There are Advanced options under the Details>> button. Set these if you need to. |
||
|
|
|
||
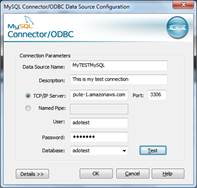
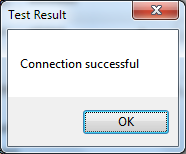
Click the Test button to ensure connection success. Click the OK button and then click the main Window’s OK button to exit that dialog. |
When returning from the configure dialog, you should see your new Data Source in the list above. Press OK to continue |
|
||
A universal data link (.udl) file is essentially a text file that contains the connection string for an OLE DB data source. [Microsoft/msdn] Creating a UDL connection is very easy in Windows, and the following is the step-by-step instructions for doing the process.
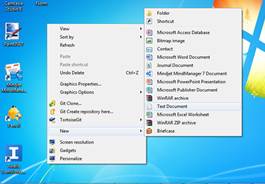
For this example, create a new Text file on the Desktop in Windows. |
|
||
|
|
||
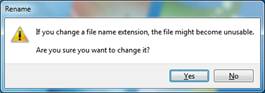
Once you leave the rename, a warning will be displayed stating changing the extension could have drastic affects. We want it to, so press the Yes button to continue |
|
||
|
|
||
|
|
||
|
|
||
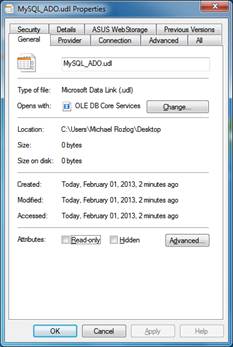
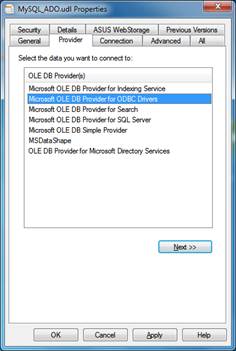
This opens up the configuation setting for the UDL file. Click on the Provider Tab to continue. |
Now select the ODBC provider and click the next button. Note: This could take you to security, however, you want to click on the Connection tab if the security panel looks correct. |
||
|
|
||
Use the Data Source name that we created with the ODBC process in the prior steps. Click the down-arrow and select if from the list. |
|
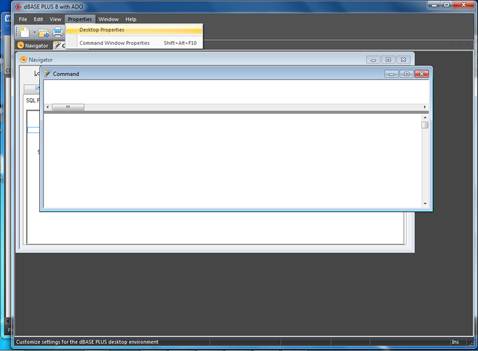
Open dBASE PLUS 9 and click on the Menu Properties|Deskotp Properties menu item
Now use the UDL file that was setup in the prior steps.
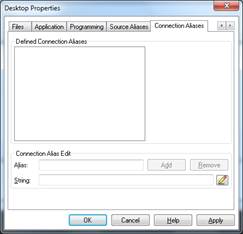
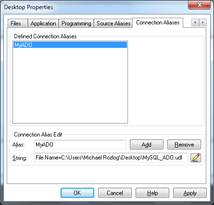
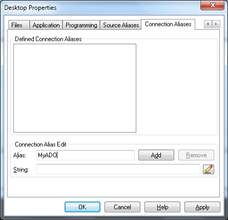
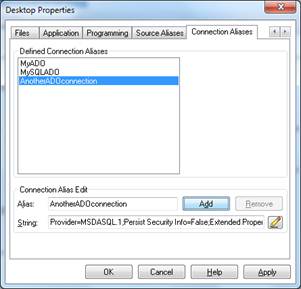
Click on the Connection Aliases tab. Add an Alias name and click the pencil icon. |
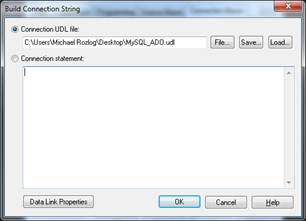
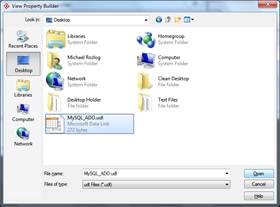
Click the Connection UDL File radio button and click the File name. |
|
|
Chose the UDL file listed on the Desktop |
Click the Add button and then click the Apply button |
This can be done using a string of characters to connect to a database.
Type in the name of the Alias then click the Pencil icon. |
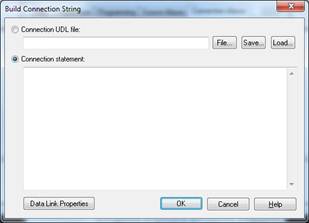
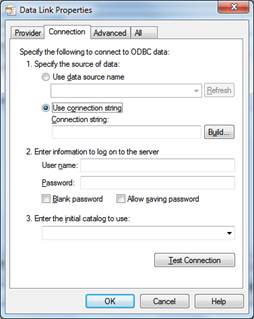
This time click on the Connection statement radio button. Then click the Data Link Properties button.
|
NOTE: If you are planning to build a connection string, you must start dBASE as administrator so that the proper rights to create database connections is enabled. |
|
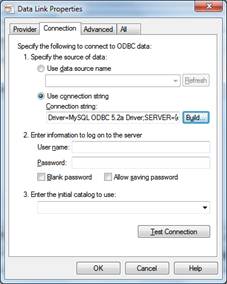
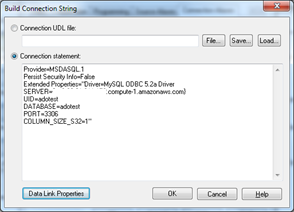
Now click on the Use Connection String radio button and then hit the Build button.
|
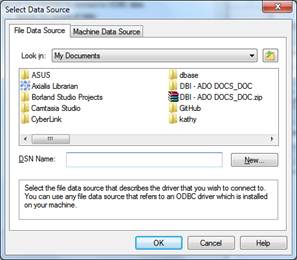
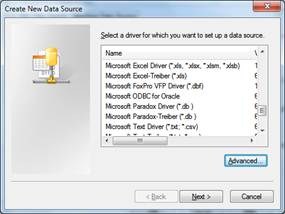
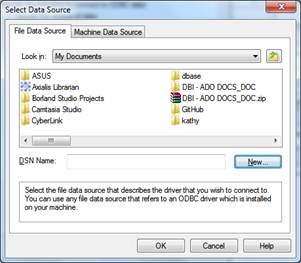
The following dialog will be displayed. Click the New… button |
|
|
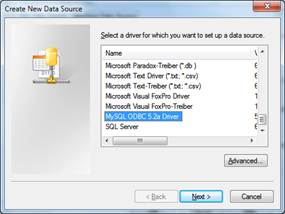
This can be a very long list. Find the Driver you are looking for and select it. In this example we will use the MySQL ODBC driver, then press the Next > button to continue |
Name your data source, then press the Next > button.
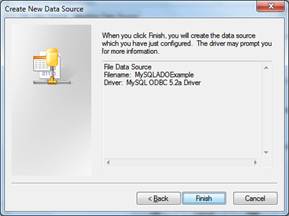
This is a review pane. If everything looks correct press the Finish button
|
|
|
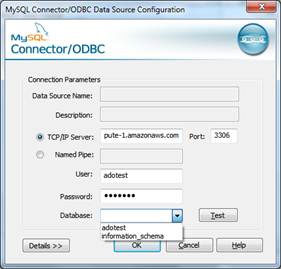
The “manfacturer” database connection dialog will be displayed.
NOTE: The Data Source Name and Description is not enabled; that information was collected earlier in the process.
Now, put in the TCP/IP address of the database, the Port, User Name, Password and click the Database dropdown to see the databases. If it shows databases you are connected. After picking the database click the Test button to ensure it. |
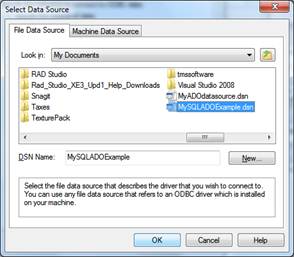
This is displayed after clicking on the last Ok button. The dialog should look as it did when we first started adding the Data Source.
Now use the slider to find the datasource that was defined in the prior steps.
|
|
|
Select it and then press the OK button. |
The connection dialog is displayed to check your security credentials. NOTE: The reason for this is because the person could leave the process at any time and return at a later time. The connection credential needs to be checked. After inserting the security credentials, click the OK button to continue |
|
|
Notice the Connection String edit box is now filled with the full connection string.
|
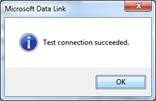
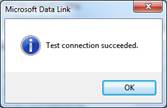
Press the Test Connection Button. You should see the above dialog.
Press the Ok on the Data Link Properties diaog. |
|
|
Notice now that the full connection string is located in the Connection statement area. Press the OK button to continue. |
Now that the String is filled in, press the Add button and then press the Apply button, press the OK button to finish out the process.
|
Now it is time to connect the defined databases with the included ADO components.
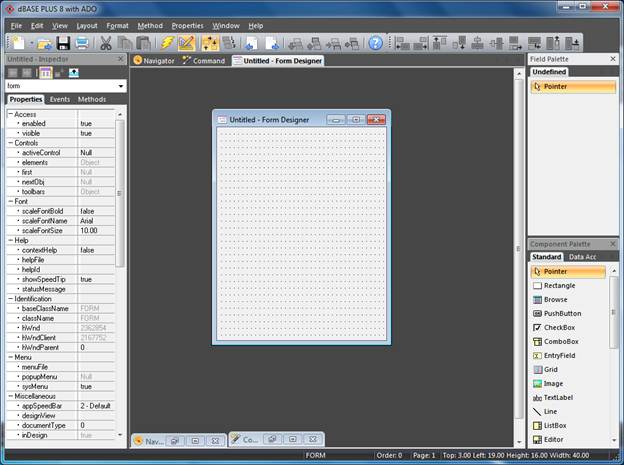
Create a new form, but do not use the Wizard. Now go to the ADO Access tab on the Component palette.
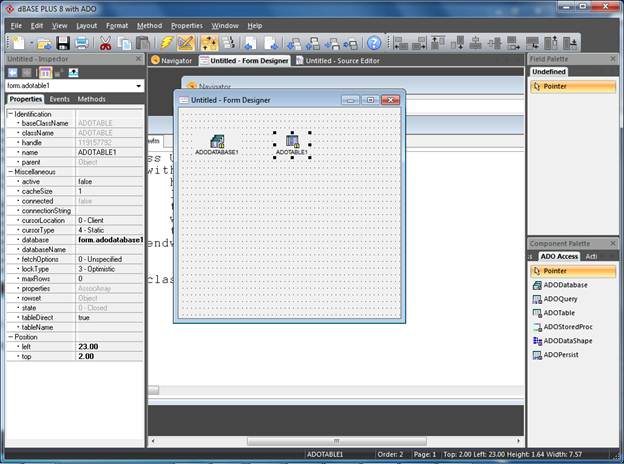
Drop an ADODataBase and an ADOTable component onto the form.
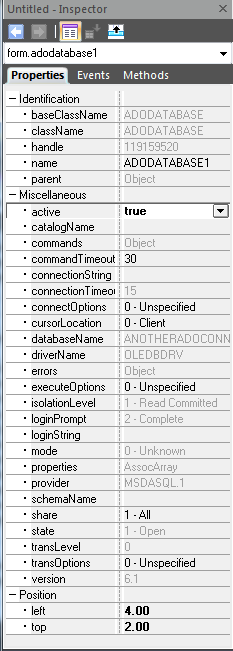
ADODatabase Properties
Set the Database Name property to the property we defined in the UDL or Database Connection String process that was completed earlier. Then set the Active property to True. |
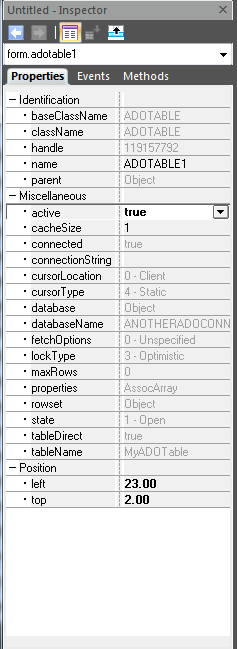
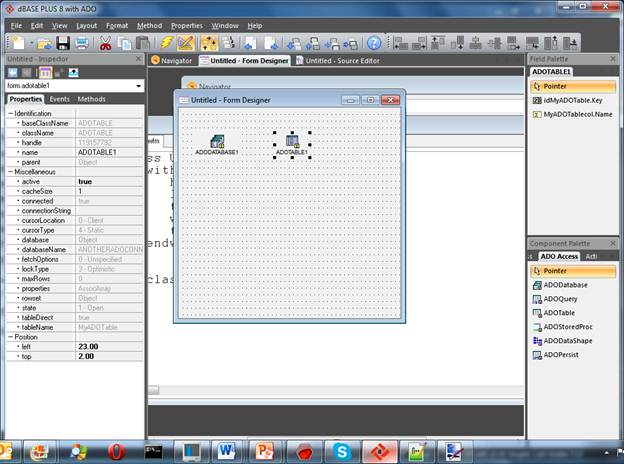
ADOTable Properties
Set the Database Name to the Connection on the ADOTable and input the Table Name property and then set the Active property to True. |
In the Fields tool window, drag a Column to the form.
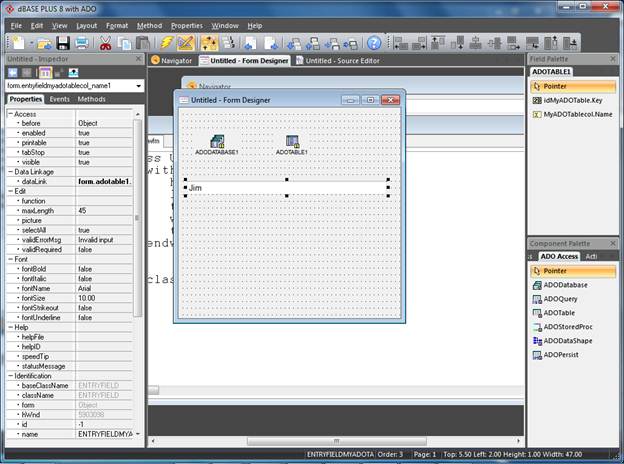
You should see the Column on your form showing data.